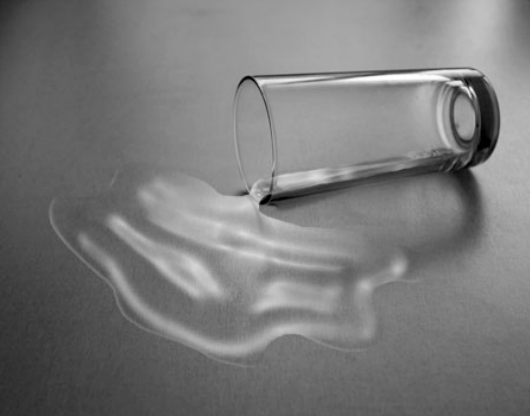
PS完美液体流动特效图文教程
教程之家
图片处理
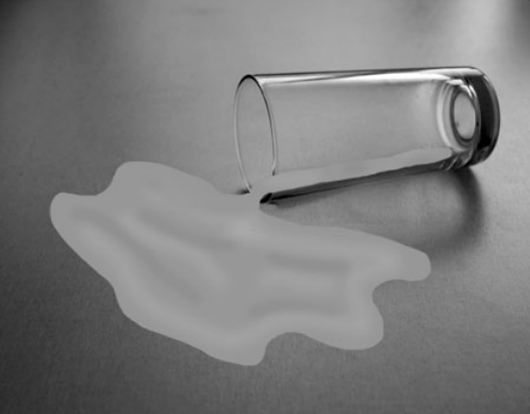
步骤3:使用加深工具
加深工具可以加深色彩,可以给形状加入阴影。设置参数如下:
大小: 35px
范围 : 阴影
曝光度 15%
结果:
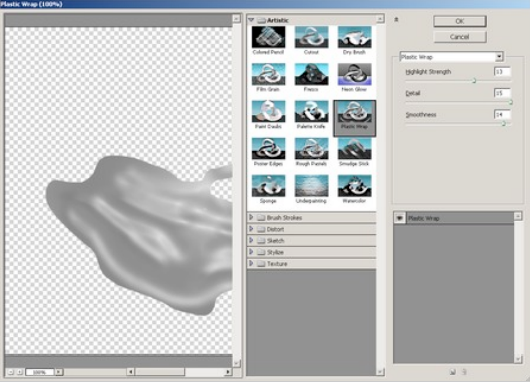
步骤4:使用塑料包装滤镜
现在开始打造液体效果,使用滤镜库>艺术效果>塑料包装:
高光强度: 13
细节: 15
平滑度: 14
参数可自行调节
结果
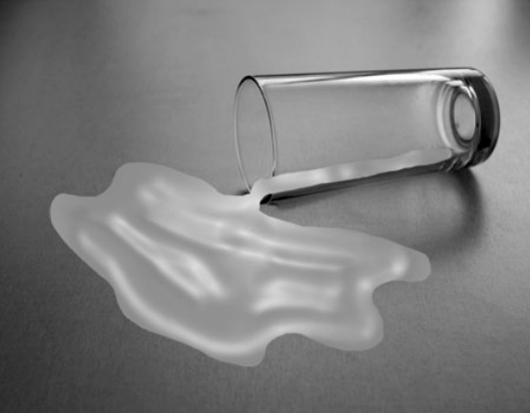
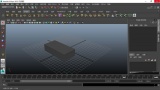
步骤5:使用强光模式
可以再进行一点阴影和高光的调整。
液体图层,混合模式从正常变为高光。

移除了灰色,仅剩下阴影和高光:
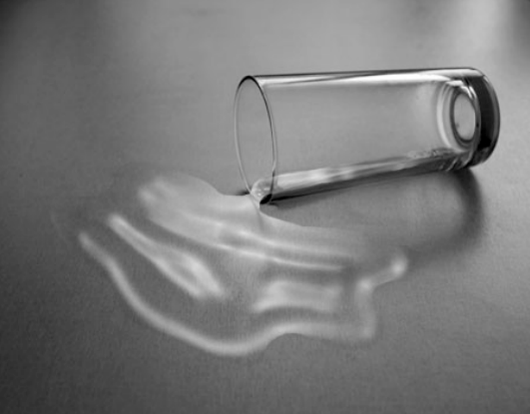
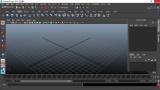
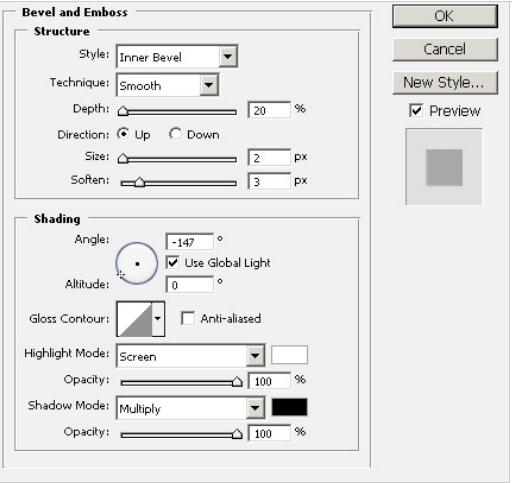
步骤6:斜面和浮雕
进入混合模式,加入斜面和浮雕效果让液体更逼真一点。参数:
样式:内斜面
方法:平滑
高光模式:滤色
阴影模式:正片叠底
数值参考下图
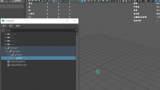
如果想要调节液体颜色,图像>调整>色彩平衡,满意为止。