wps2019是一款很多小伙伴在日常生活都会使用到的电脑办公软件,能够帮助小伙伴们轻松编辑各种文档,让工作更加高效。有些小伙伴还不清楚wps2019该怎么设置自动保存时间,所以今天小编就为大家带来了设置自动保存时间的方法,感兴趣的小伙伴一起来看看吧。
方法步骤:
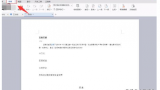
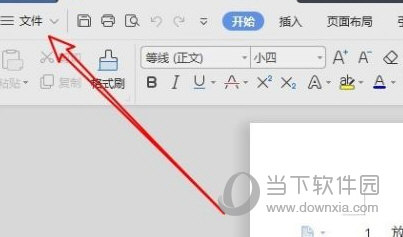
1、打开wps2019,点击文件
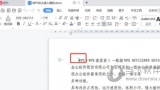
2、点击选项

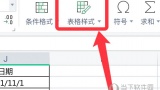
3、点击左侧备份中心

4、点击左下角的设置

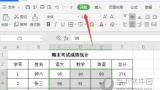
5、修改自己要自动保存备份时间

以上就是小编带来的软件设置自动保存时间方法了,小伙伴们只需要按照文章的步骤进行就可以轻松设置了,希望这篇文章能够帮助到大家。